Run your eyes across a lithographic stone and the picture may look like a drawing waiting to be framed. There is no forest of raised letters and no obvious network of deep engraved grooves. Yet ink can be persuaded to choose the picture and leave the surrounding surface behind.
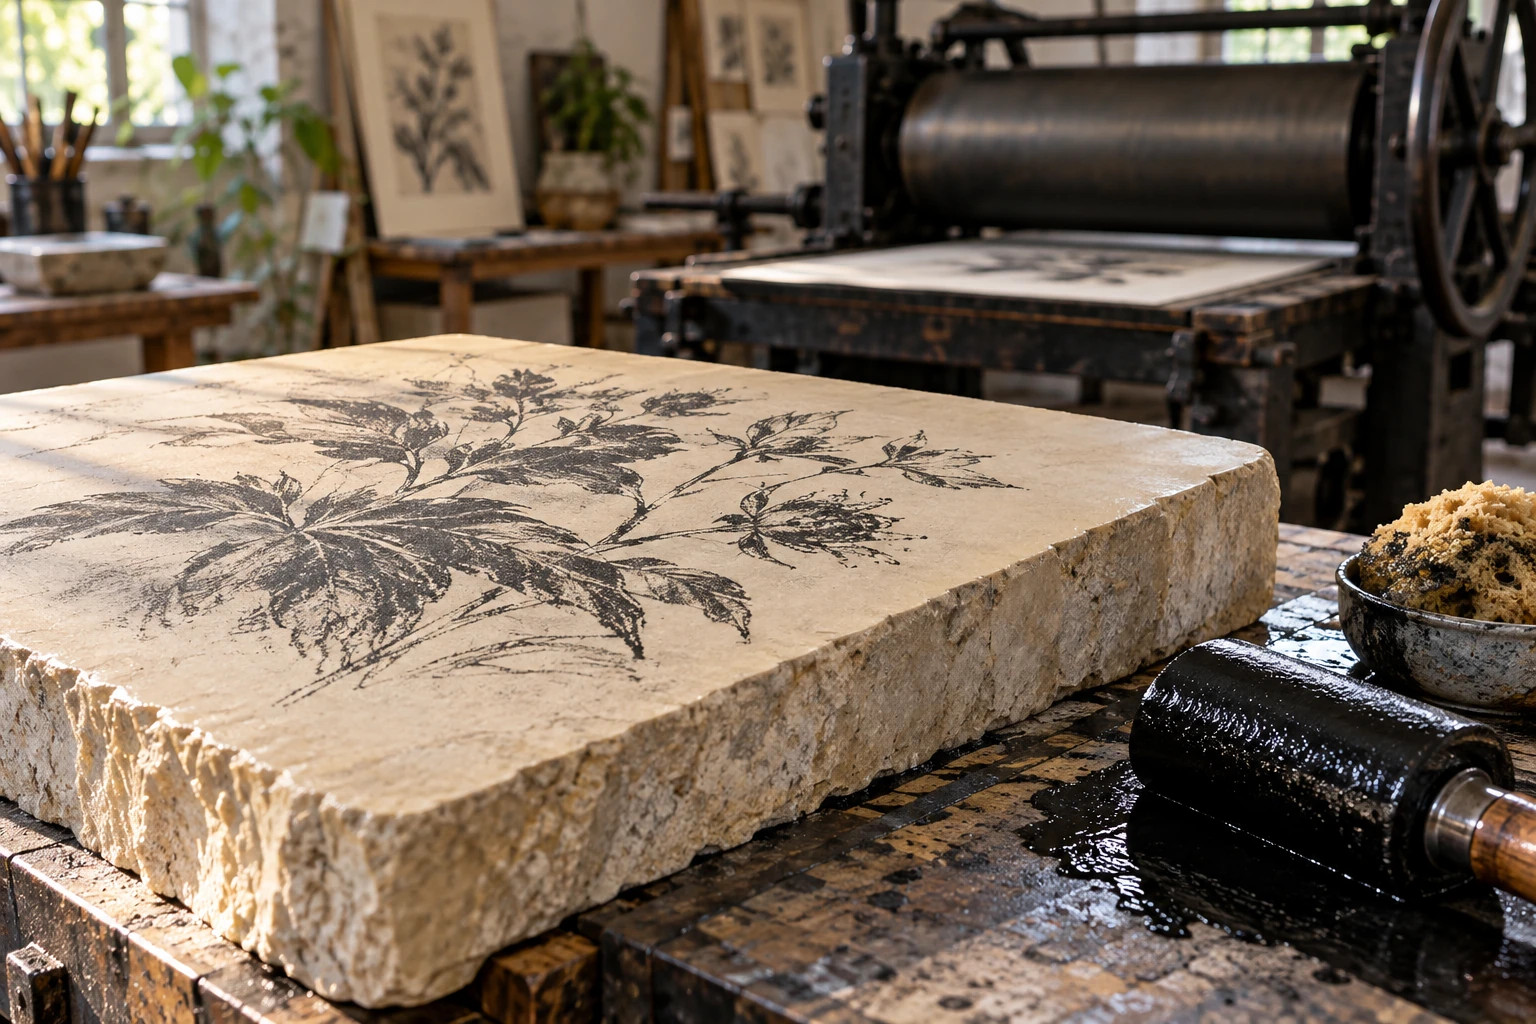
Lithography is a planographic process: the printing and nonprinting regions occupy essentially the same plane. Its central drama is a difference in how regions behave, rather than a difference in their height.
Begin with a mark that has a second job
The Metropolitan Museum of Art's demonstration begins with an oil-based lithographic crayon or ink on polished limestone. The drawing gives the artist something visible to work with while also establishing the image areas needed for later processing.
The stone is then treated so that image and nonimage areas respond differently. Before printing, water occupies the appropriate blank regions, while the printing ink adheres to the prepared image. “Oil and water do not mix” is a helpful doorway into the idea, but the actual preparation makes the surface selective enough to print repeatedly.
This is not a home chemistry tutorial. The museum's video sequence is a better way to observe the material stages without handling workshop chemicals. Watch one section at a time, and notice which operation prepares the image and which operation transfers it.
The disappearing drawing is not the end of the picture
In the Met's sequence, the original visible drawing is wiped away during processing, leaving a ghostlike trace before later inking. That can be the most surprising moment for a newcomer. Removing the immediately visible mark does not necessarily remove the surface's ability to carry the intended image.
Think of the stone as having a prepared history. What it does now depends on what happened to it earlier. A photograph taken at a single stage might show very little of that history, so the process sequence matters more than one attractive workshop still.
Crayon grain becomes printable information
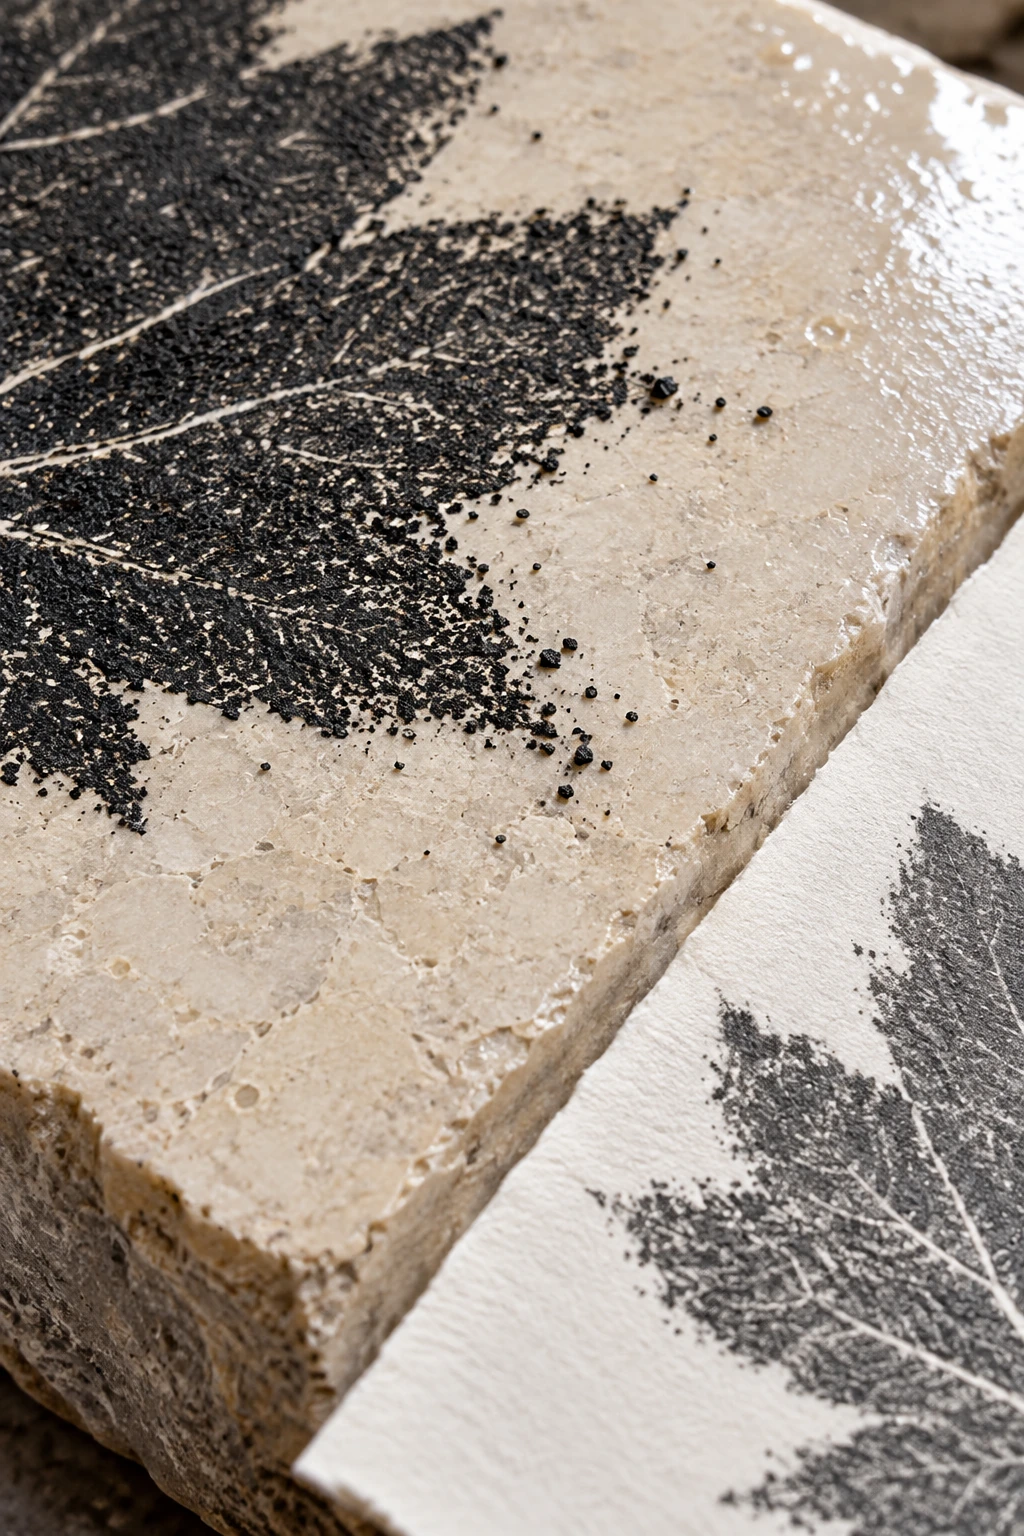
The museum publication How Prints Look explains the role of greasy marks and the stone's grain. Different drawing tools and surface textures can produce distinct marks. Lithography can retain a remarkable sense of a crayon moving across a surface.
Look closely at the edge of a tonal area in a lithograph. Does it dissolve into granular flecks, become a firm contour or show a wash-like transition? Those visible qualities can lead you toward the making process. They do not let you identify every tool with certainty, but they make your looking more specific.
For a simple comparison, make a pencil mark on smooth paper and another on rough paper using your ordinary drawing materials. Neither is lithography. The exercise isolates a familiar fact: a textured support changes the distribution of a mark. Return to the print with that distinction in mind.
The press introduces a reversal
In direct stone printing, paper meets the inked image and the resulting impression is reversed relative to the drawing on the stone. An asymmetric detail makes this easier to notice than a symmetrical flower or circle.
Write a capital R on a scrap of paper and look at it in a mirror. The letter's identity has not changed, but its handedness has. That simple observation helps explain why an artist must plan differently when transferring a direct drawing to a printed impression.
The Museum of Modern Art's printmaking guide places lithography among other print methods. Compare how the guide describes relief, intaglio and lithography. Each gives ink a different kind of route from a prepared matrix to paper.
Color asks for repeated agreement
A multicolor lithograph adds another coordination problem. Separate color passages have to align on the same sheet. That alignment is called registration. A small shift can alter a contour, leave a gap or create a colored fringe.
Try an arrangement with two pieces of tracing paper: put a simple circle on one and a dot on the other, then slide one sheet slightly. You have not reproduced printing, but you have isolated the geometric problem of aligning two contributions to a final image.
A viewing task for the museum videos
Choose the moment just before paper is laid on the stone. List what must already be right: the prepared image, the dampened blank areas, the ink and the paper position. Then watch the impression appear. The visible reveal is the consequence of several earlier decisions.
Lithography rewards attention because it lets drawing and printing remain closely related while being materially different acts. The surface looks flat, but it carries an organized pattern of possibilities. Add water, ink, paper and pressure in the right sequence, and that prepared pattern becomes an image someone else can hold.
Sources and further exploration: The Met: lithograph demonstration; The Met: How Prints Look; MoMA: What Is a Print?.
Explore all 50 new articles · Browse the complete illustrated collection
Explore more art, ideas, and independent projects at Incoprea.